Install to physical hard drive
This section will guide you in installing CatOS to a physical hard disk. Before doing this, you need to complete Pre-installation。
1.Boot to LiveCD mode
CatOS currently does not support secure boot, and you need to turn off secure boot to boot into LiveCD mode. Secure Boot can be turned off in BIOS/UEFI. The specific method varies depending on the computer model. You can search for "Turn off Secure Boot" for the corresponding model through a search engine to get the solution.
Enter the BIOS/UEFI interface
-
Insert the system startup USB disk prepared in Pre-installation;
-
Restart your device and during the restart process, press the F2 key to enter the BIOS/UEFI interface.
The specific method of entering the BIOS/UEFI interface varies depending on the computer model. Generally speaking, the method for most computers to enter the BIOS/UEFI is to press the F2 or Esc key during the boot stage. You can get the solution by searching "Enter BIOS" for the corresponding model through a search engine.
Modify startup sequence
-
In the BIOS/UEFI interface, find a similar boot order option and set the USB device as the first option ;
-
Save and exit the BIOS/UEFI interface.
-
Restart the computer and the system will automatically boot into LiveCD mode.
2.Install CatOS
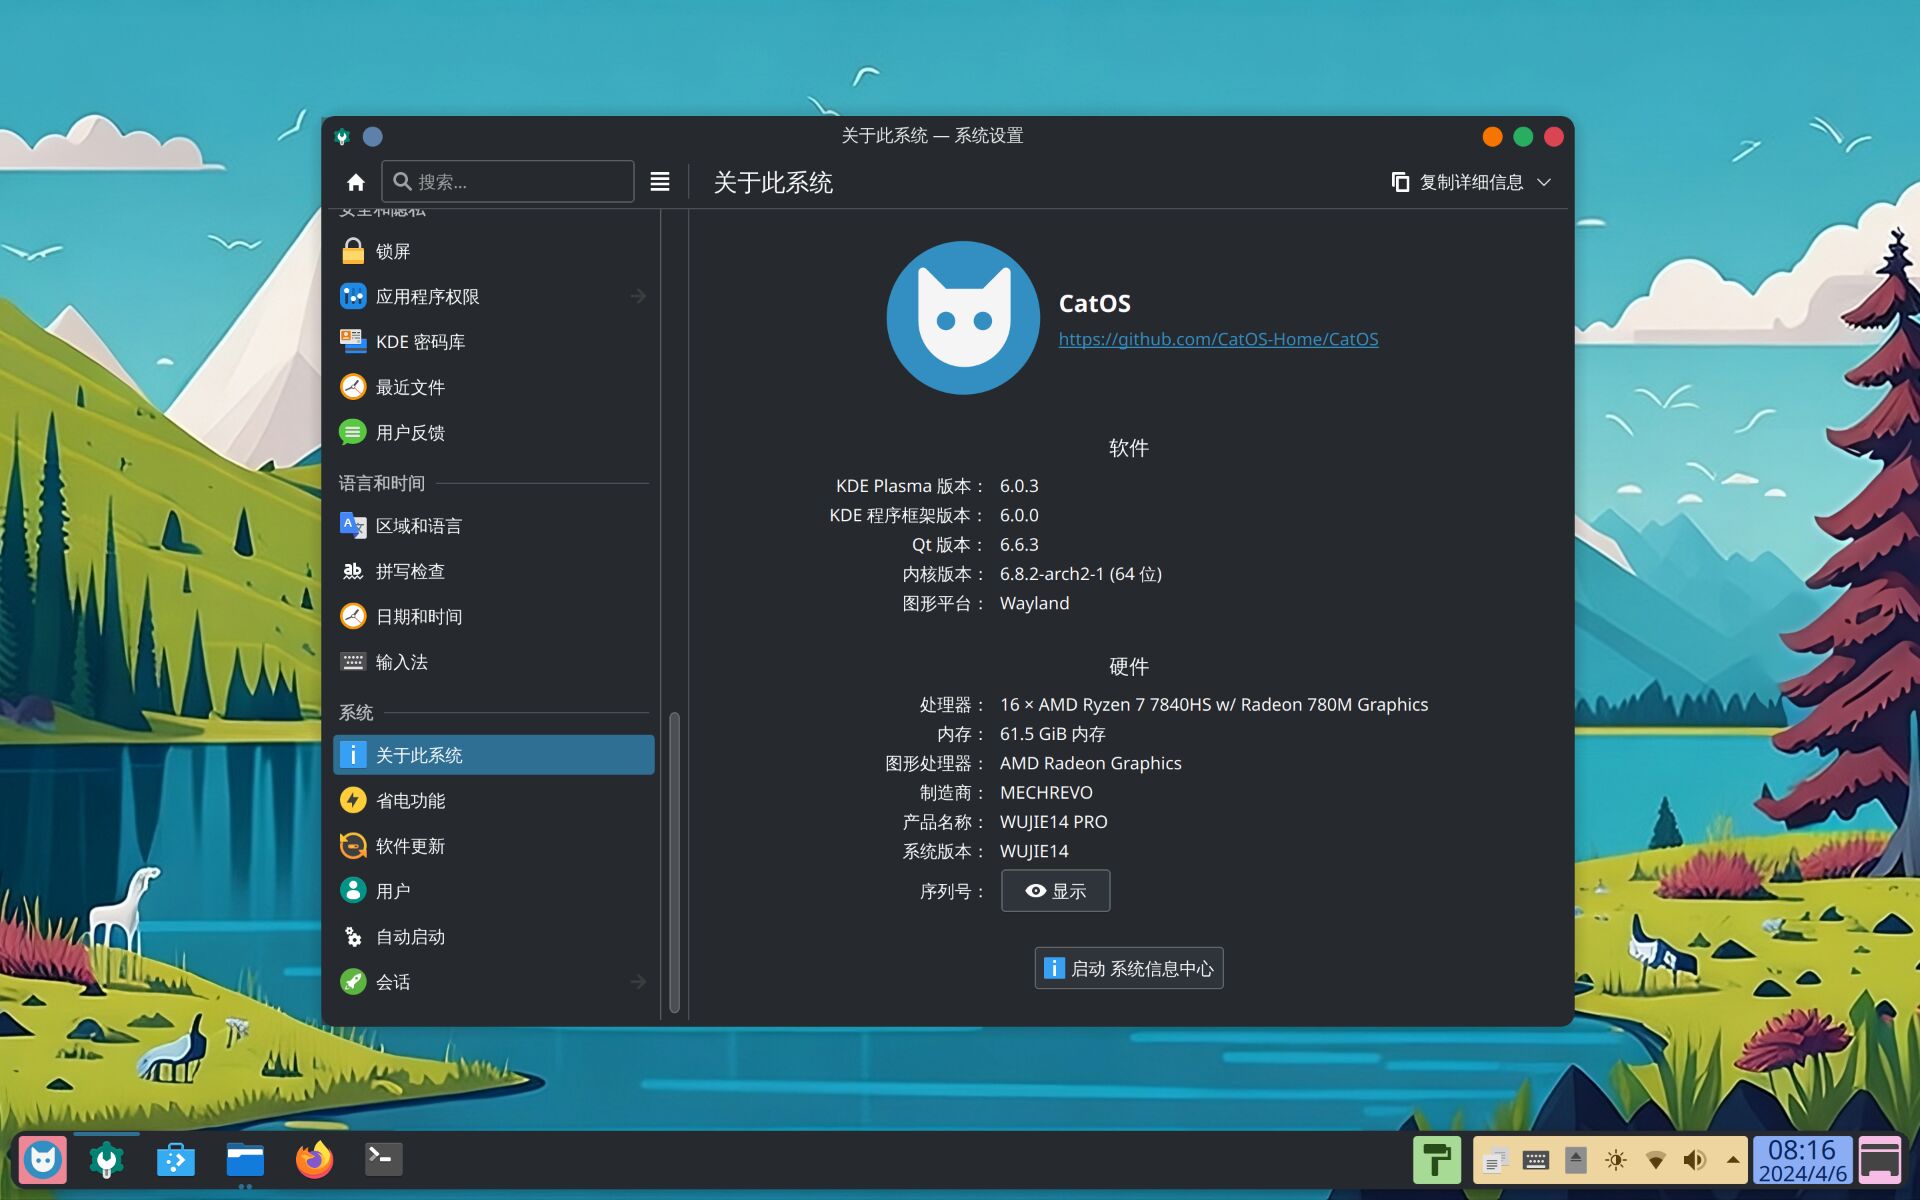
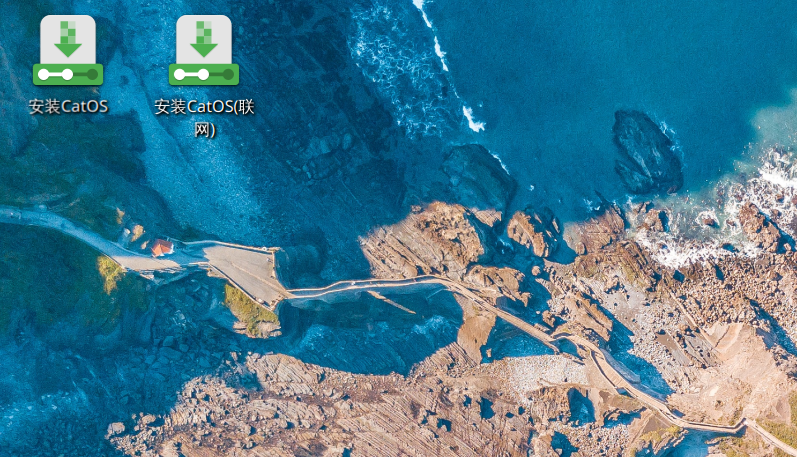
After restarting into LiveCD mode, you can find the 'Install CatOS' icon in the upper left corner of the desktop. Double click the icon to enter the installation wizard.
In addition to the 'Install CatOS' icon, there is also the 'Install CatOS(online)' icon on the desktop. The former does not require networking. After the installation is completed, it is the same as the LiveCD mode. What you see is what you get. The latter requires an Internet connection and is a custom installation mode that allows you to choose a desktop environment and other software packages. This mode is still under development and has flaws, so please use it with caution.
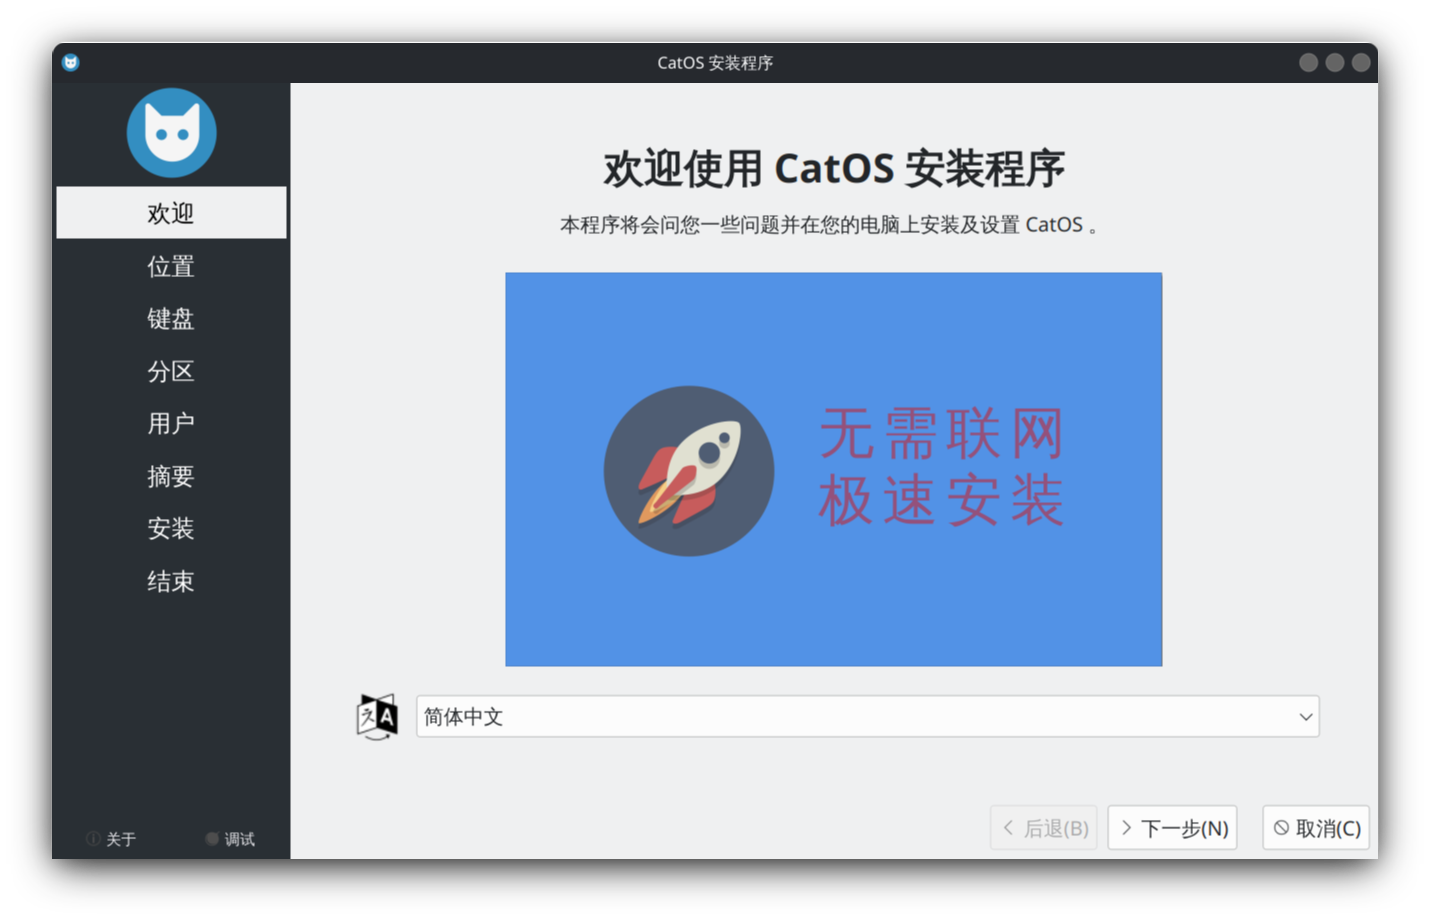
After opening the installation wizard, click Next to start
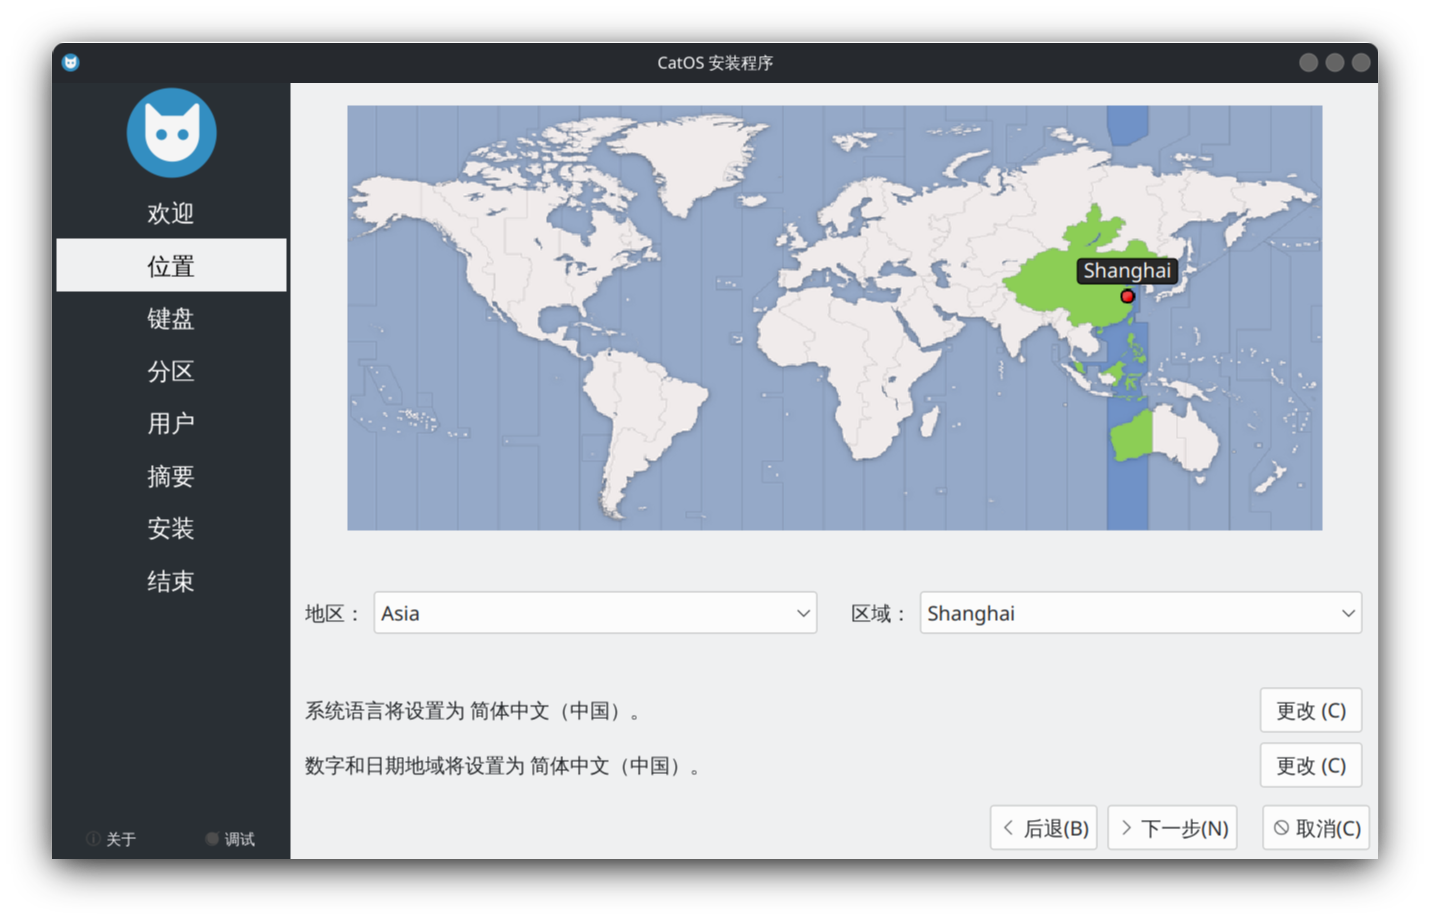
Select your time zone (click on the map) and click Next
Select the keyboard layout (just keep the default if there is no special need), then click Next

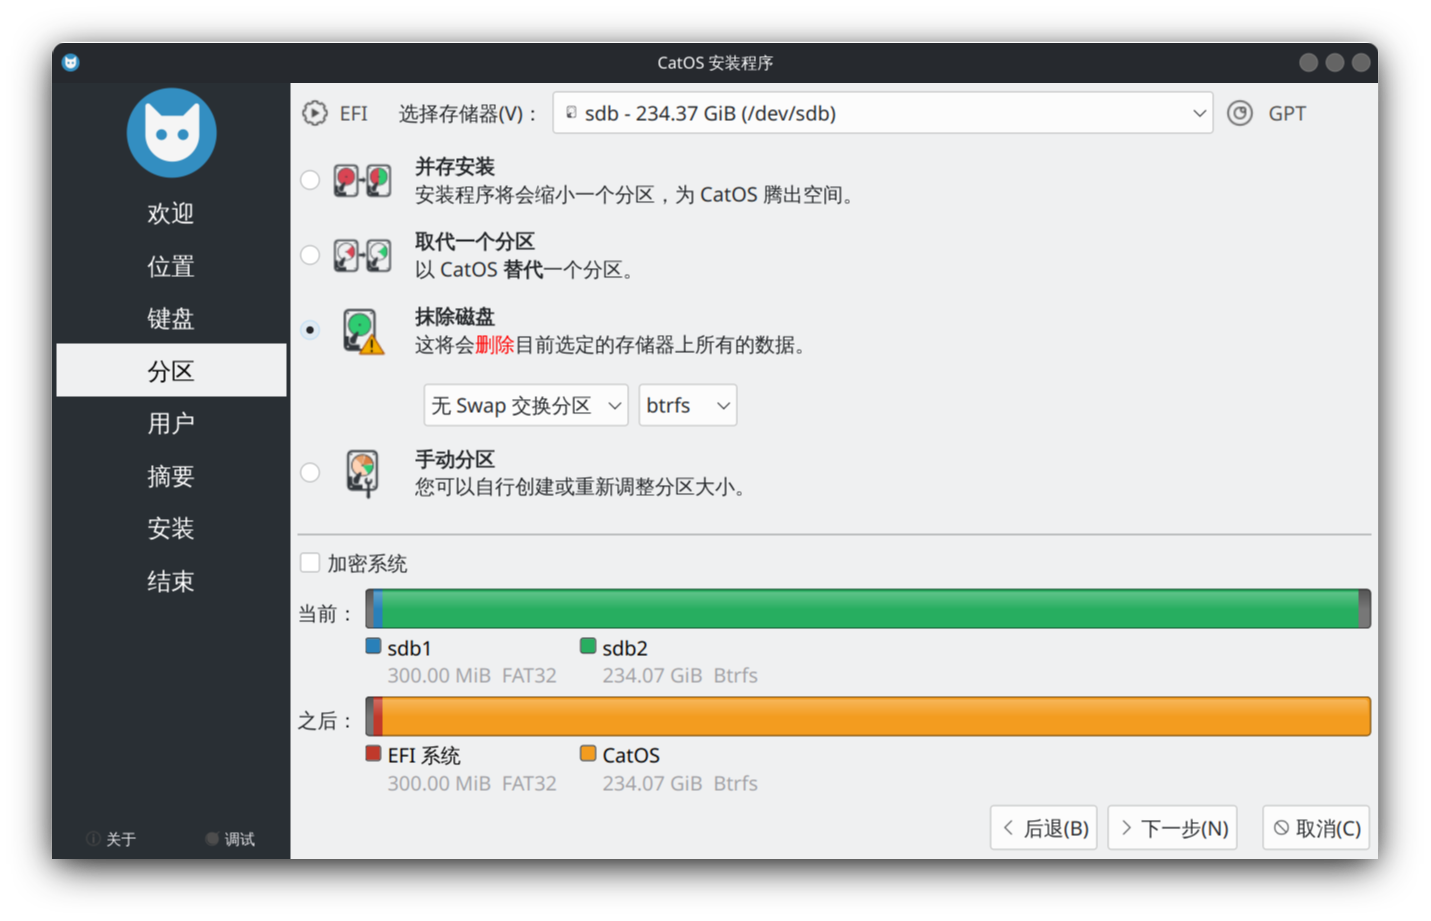
Select the hard drive to be installed in Select Storage , select Erase Disk as the partition scheme, select the swap partition setting and file system type according to your own situation (you can keep the default), and then click Next
CatOS supports installation to USB storage to create a CatOS to go
If you have other partitioning requirements, you can choose other partitioning plans. For specific configuration methods, please refer to the partitioning plan。
The installation process will format the selected disk, and all data on the disk will be lost. The data is priceless, so please operate with caution.
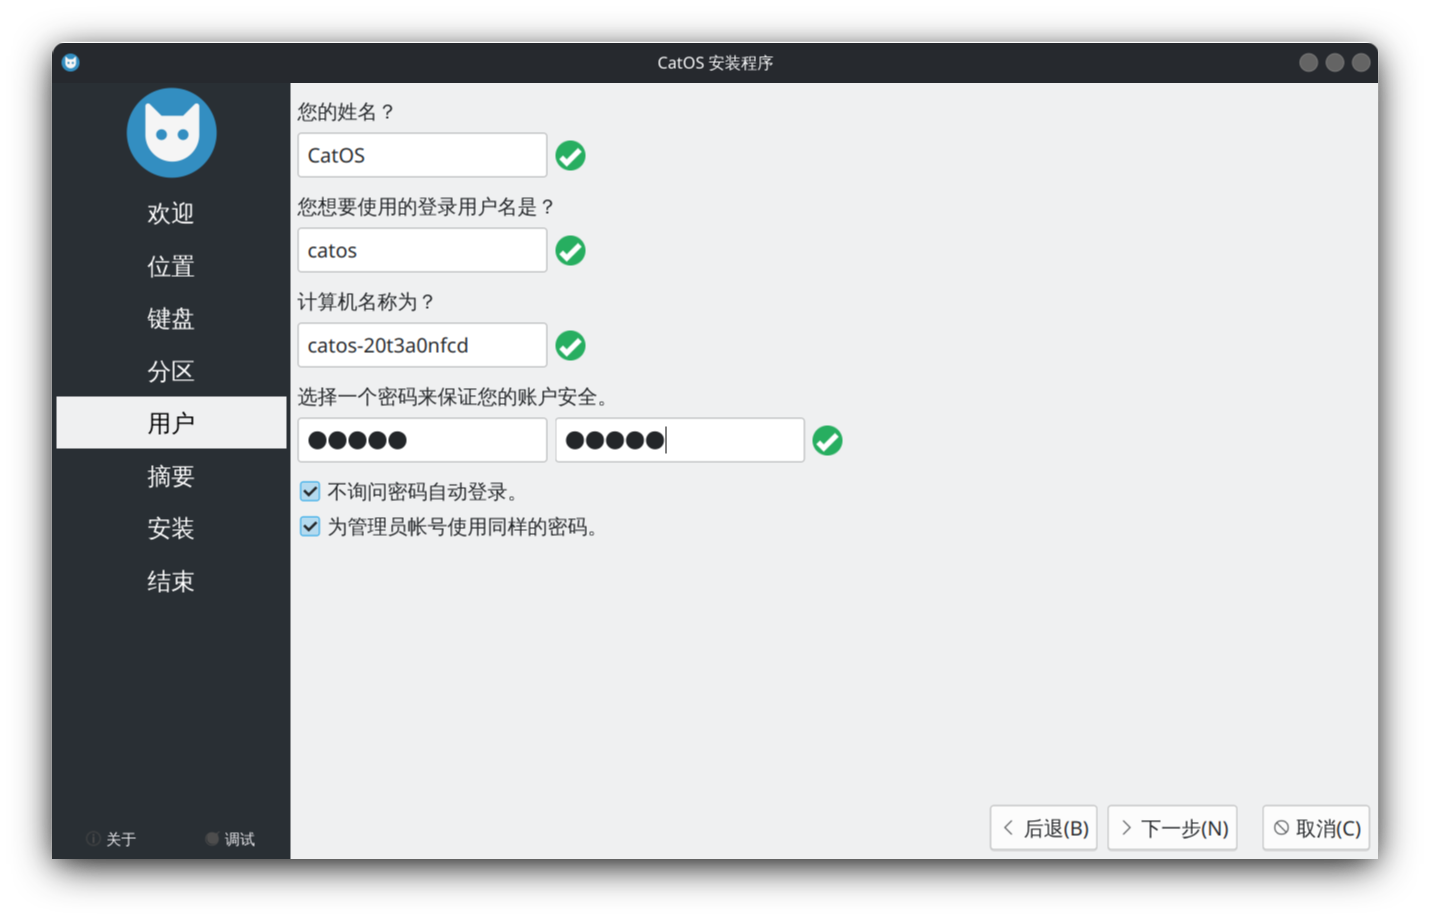
Fill in the user name , password , computer name and other information, and then click Next.
Please remember the username and password set here, they will be used as credentials to log in to the system.
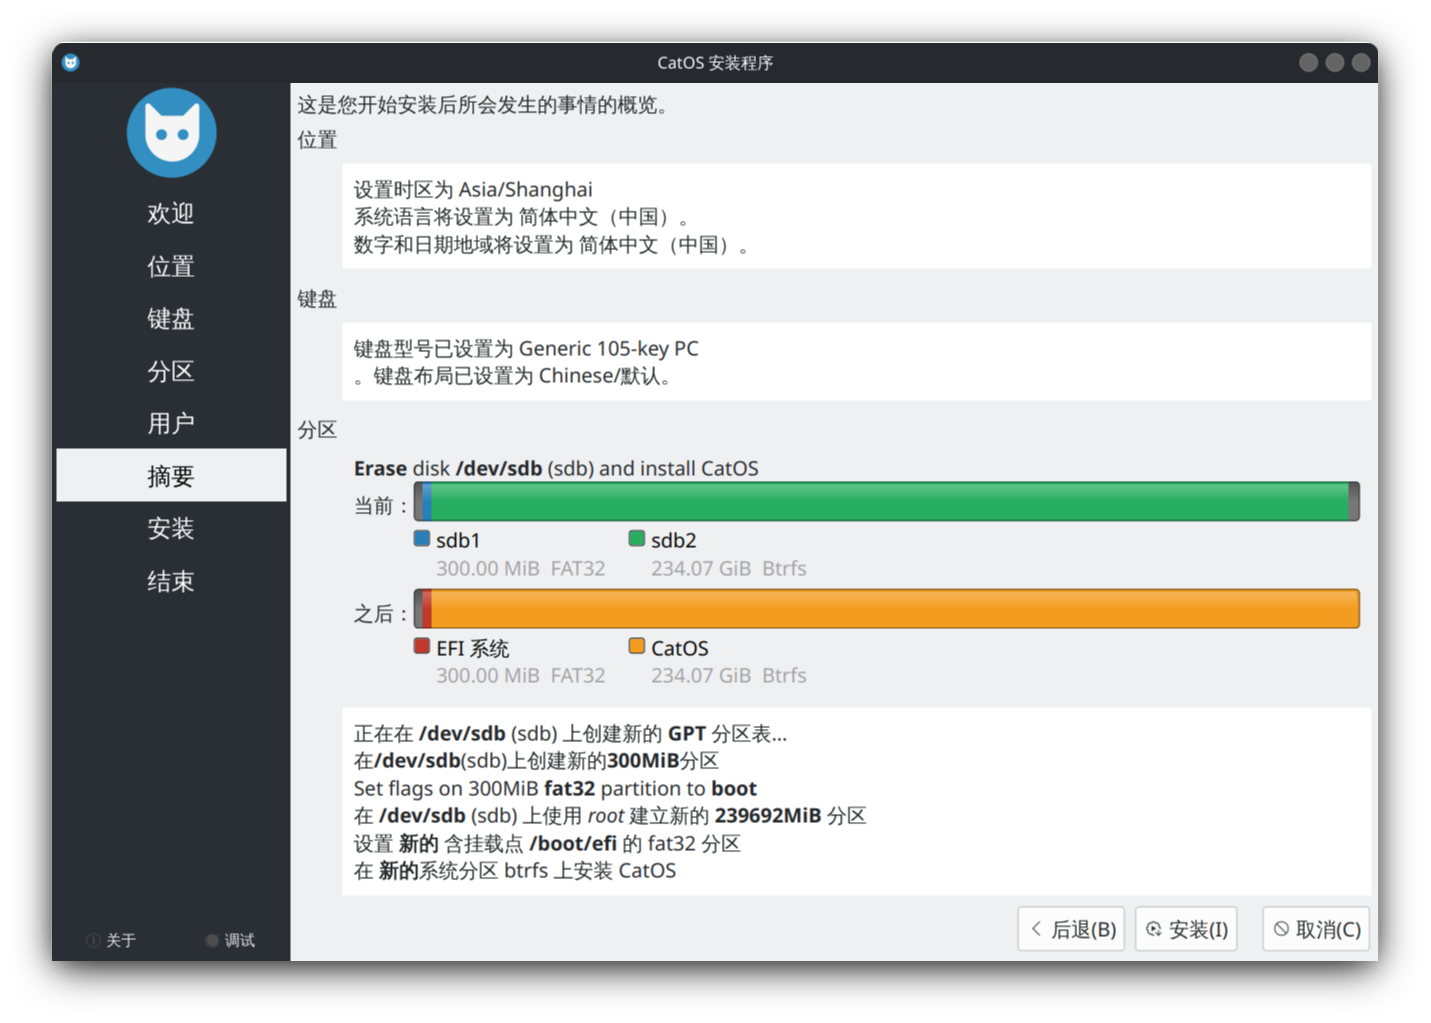
After confirming that everything is correct, click Install to start installing CatOS.
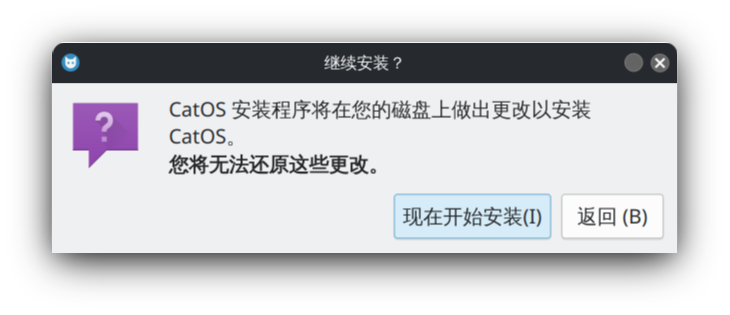
In the pop-up dialog box, click Start installation now to continue the installation process.
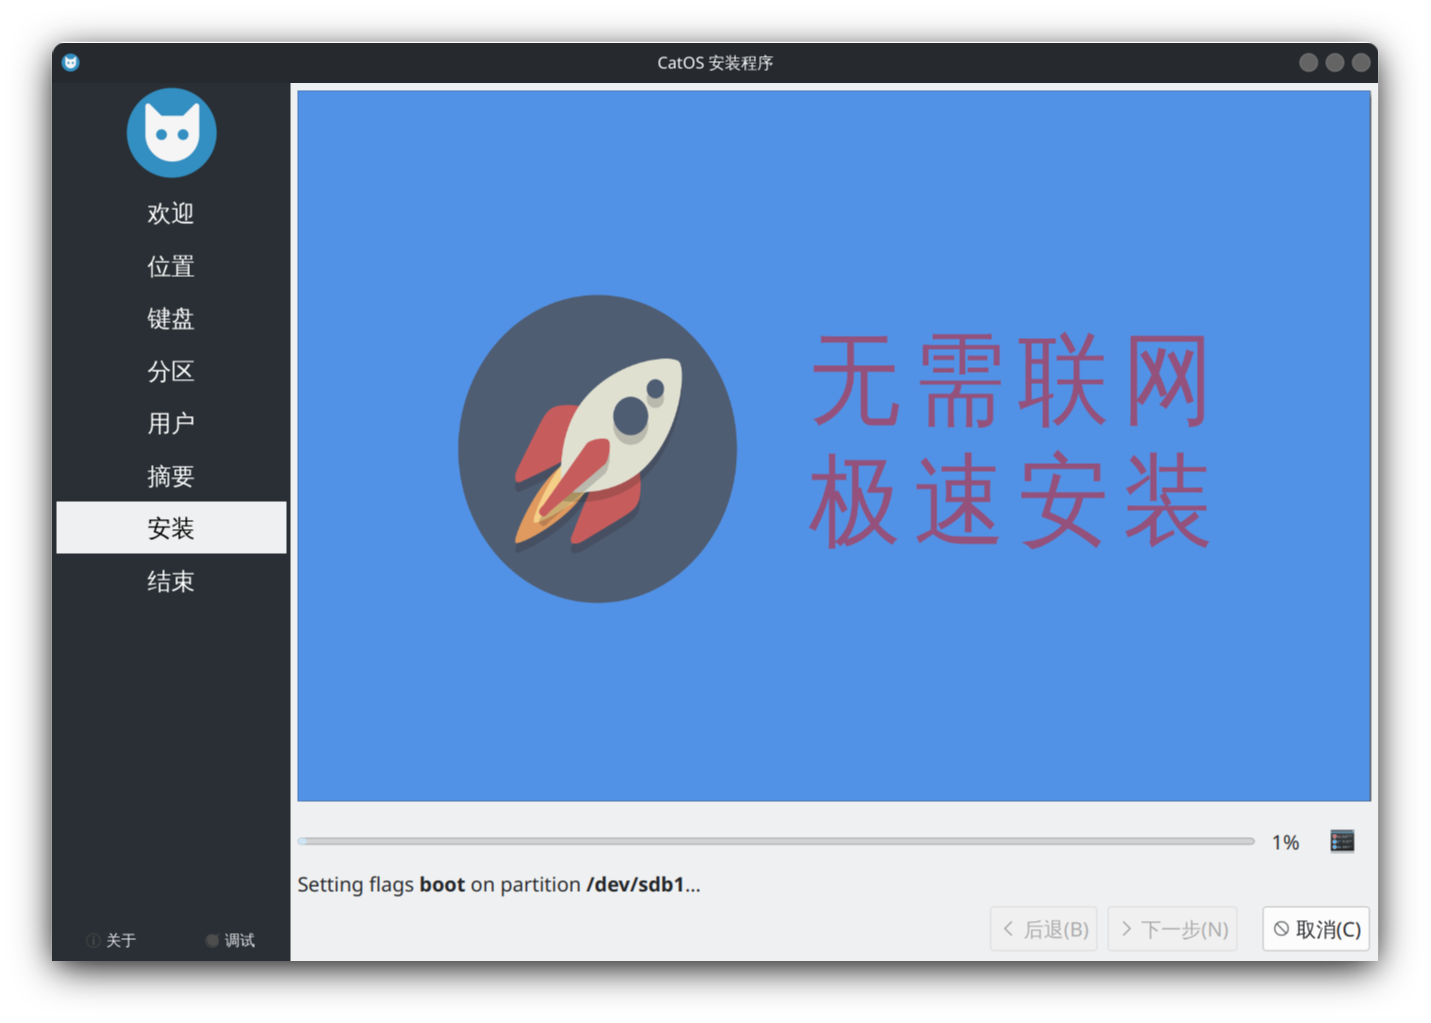
Wait for the system installation to complete. The time varies depending on your computer configuration. Generally speaking, it takes 3 to 10 minutes.
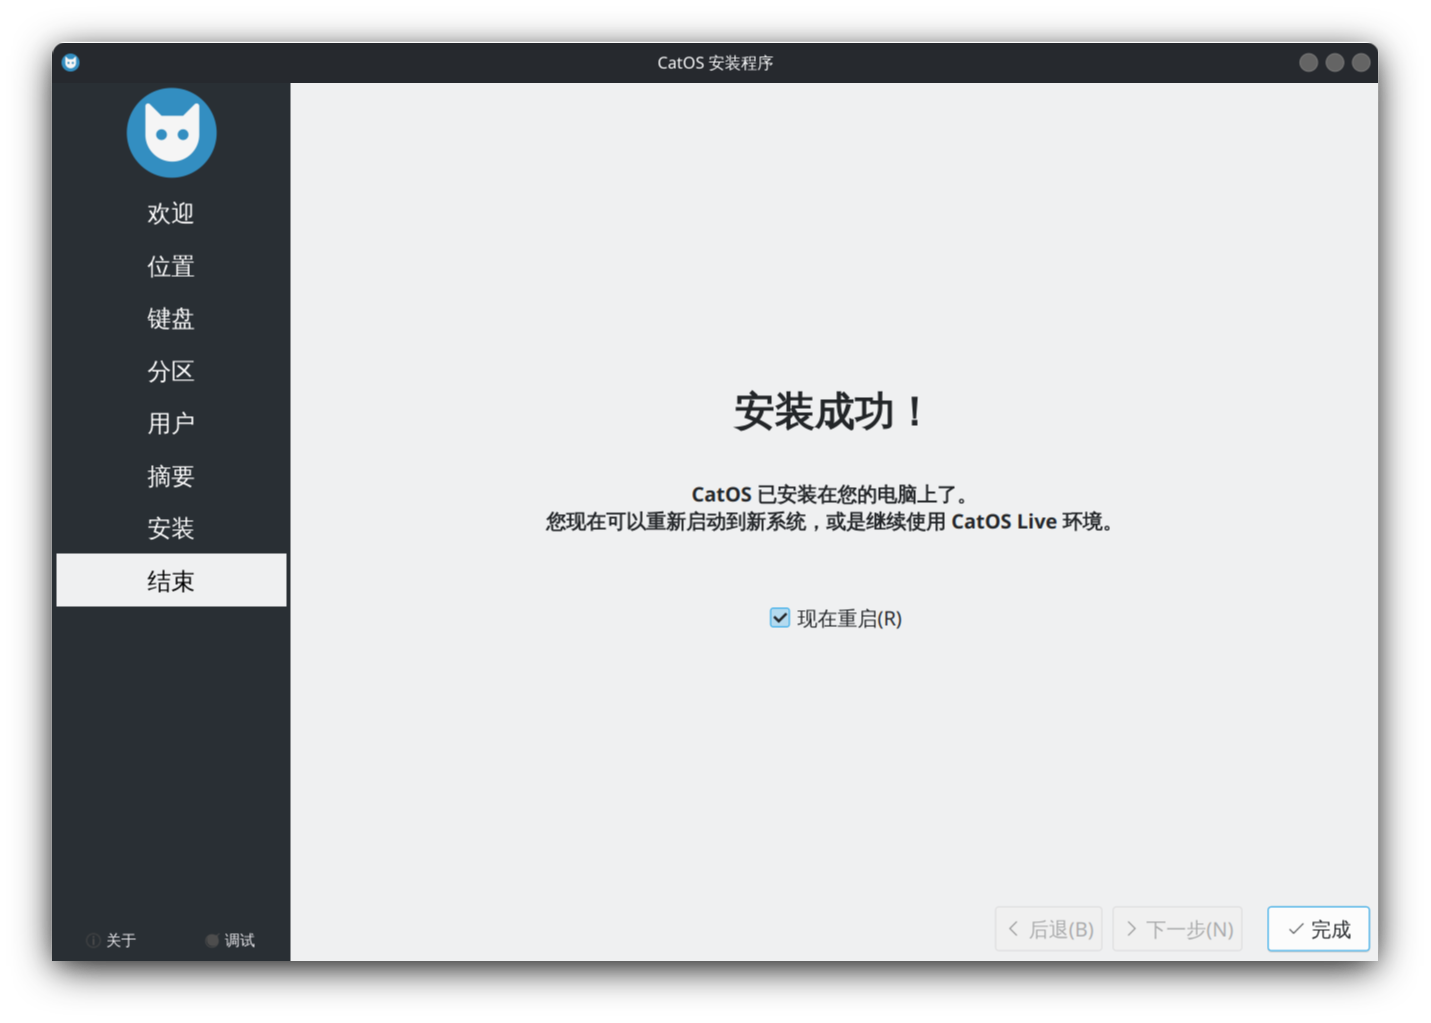
After the installation is complete, click Finish to reboot to the CatOS.
If you do not enter the CatOS system after restarting, please check whether CatOS is set as the first startup item.
3.Completion
Congratulations 👏, you have successfully installed CatOS on your computer, please enjoy CatOS.